How to Install OpenClaw on the Cloud (Hostinger Step-by-Step Guide)
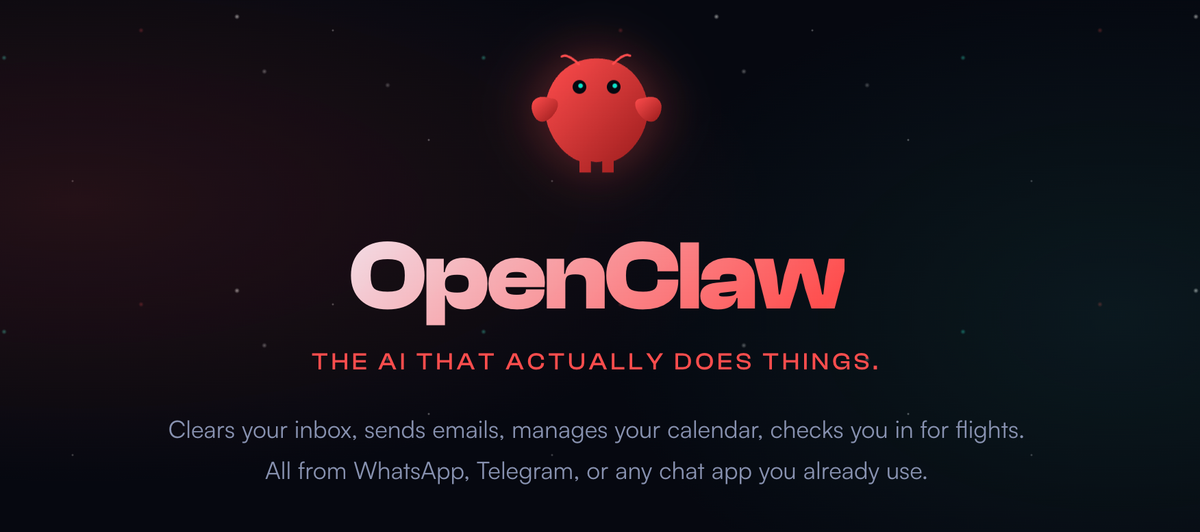
So we heard about this omnipotent AI assistant OpenClaw a lot. If you don't know what it is or want to learn more about it, you can check out our earlier post about What Is OpenClaw? Why Everyone in AI Is Talking About It
In this article, we are going to give you a step by step tutorial on how to install and run OpenClaw on the cloud. This allows you to access it from anywhere, isolate it from your main machine, and run heavier workloads without slowing down your laptop.
- Go to Hostinger Website
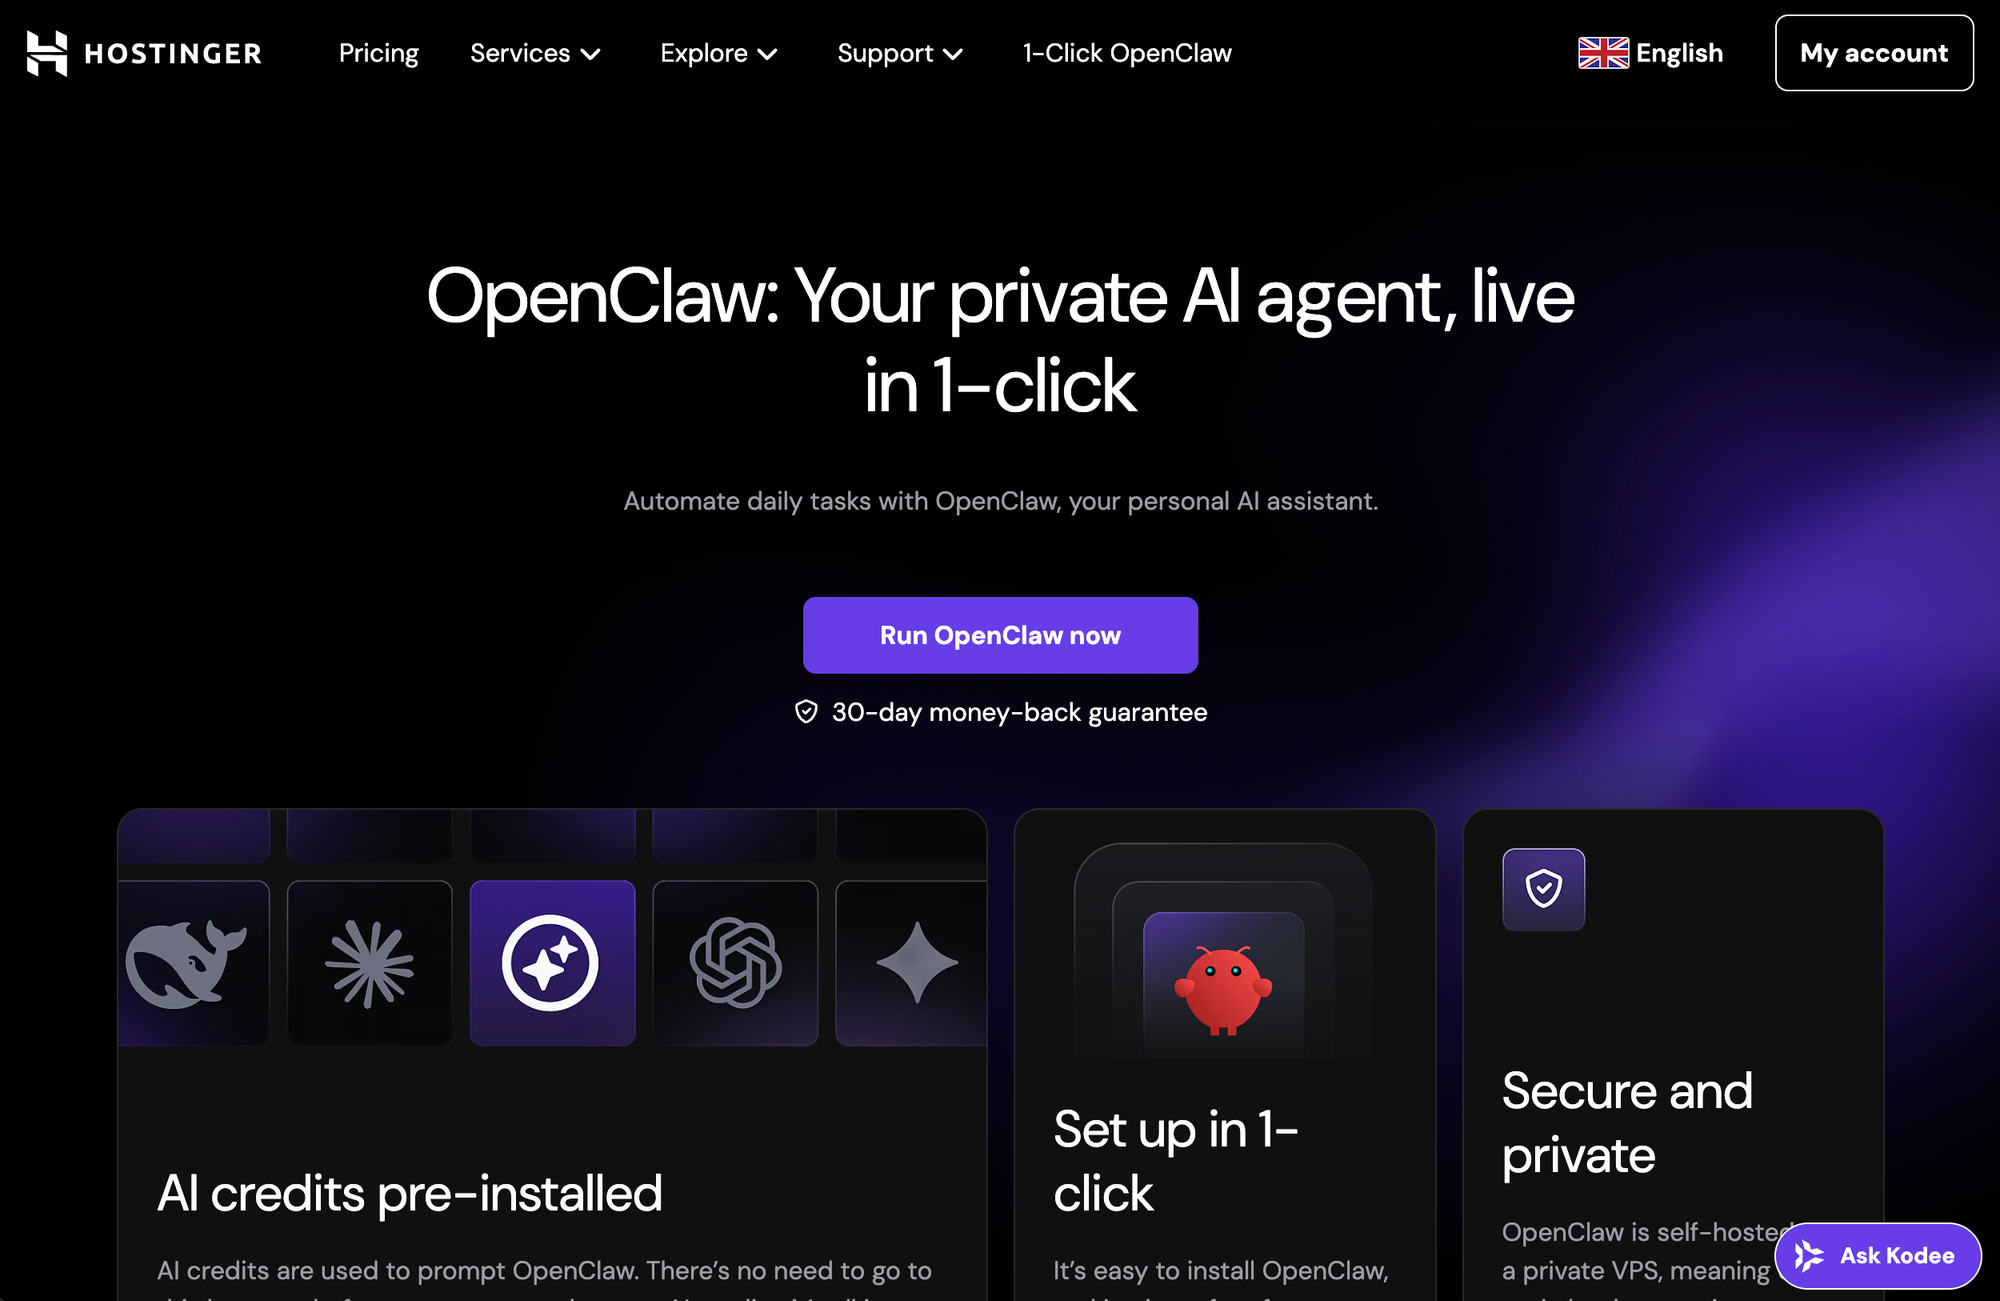
There are a lot of cloud platforms to host your openclaw. But so far (as of March 2026), Hostinger is still the best in the industry. Go to the website by clicking Hostinger and click "run Openclaw now".
- Payment Process
The next thing is to select a payment method. They have 1 month, 1 year and 2 year as the options. By default, they will also select the region with the lower latency.
3. Configuration: Enter your Whatsapp/Telegram
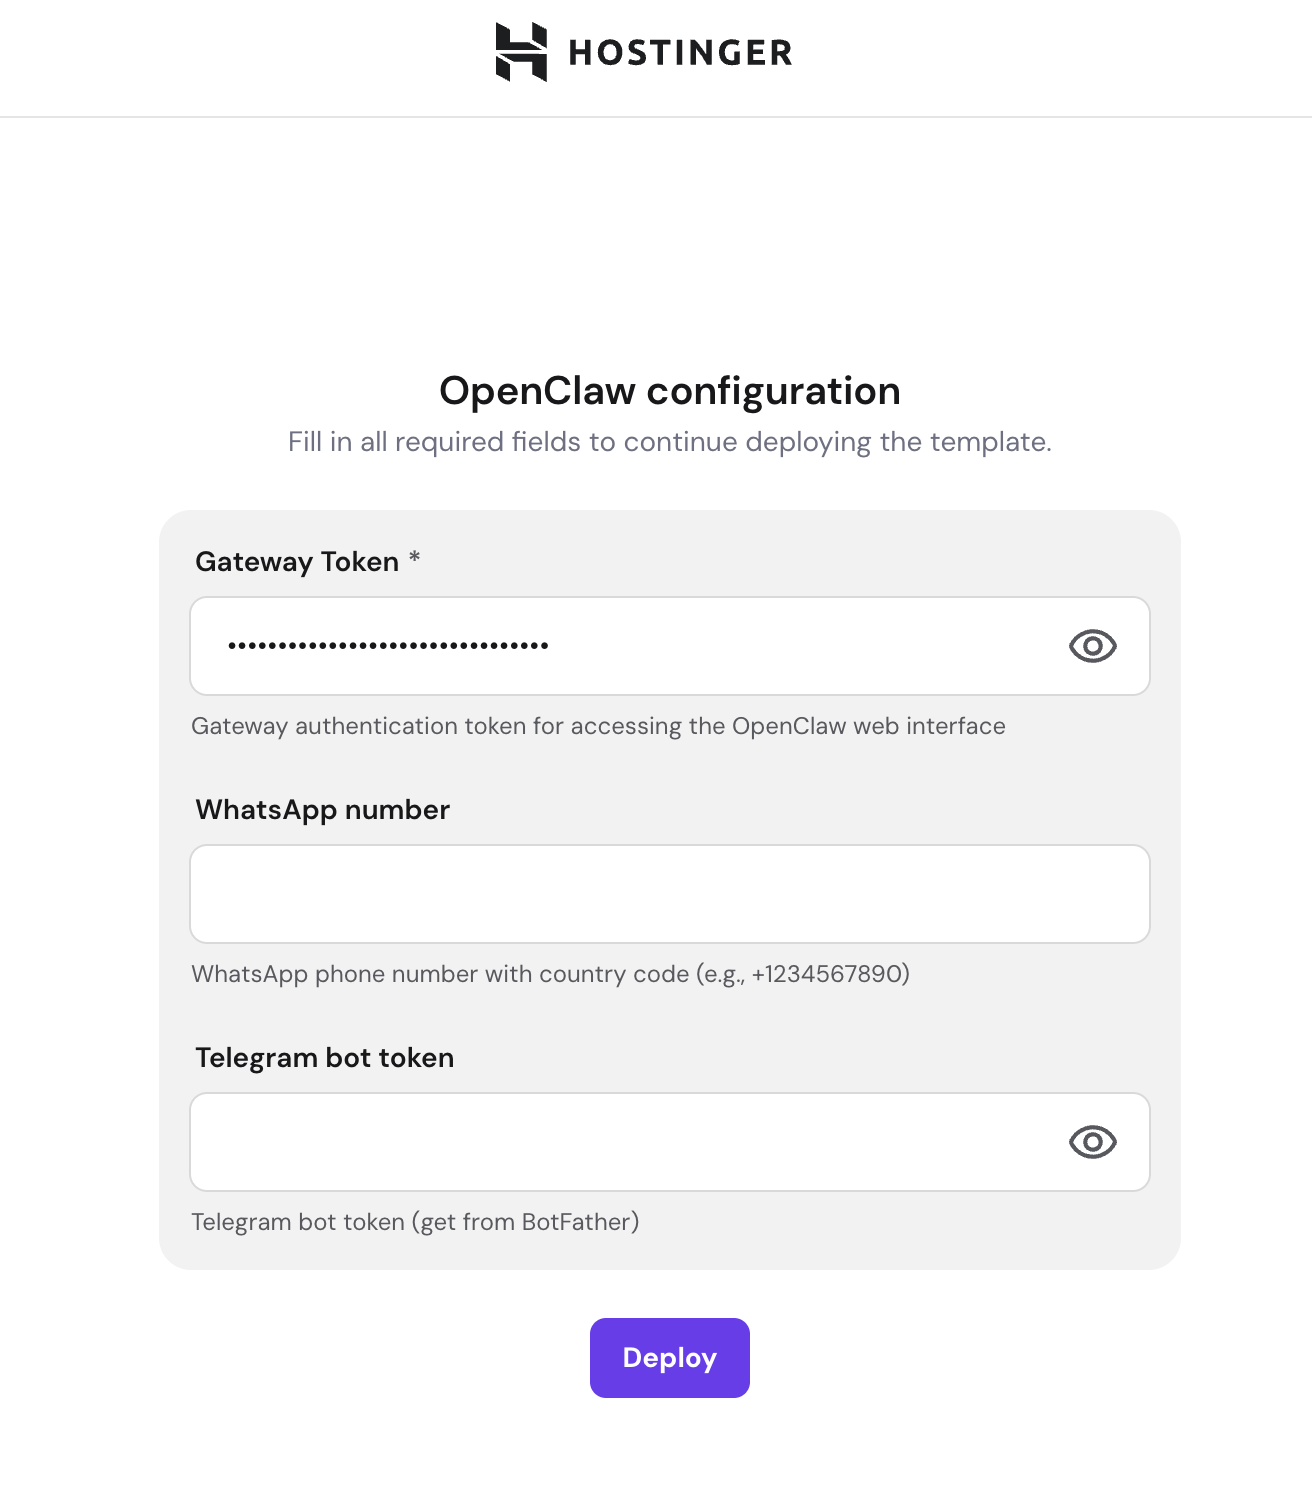
After completing your payment, you will land on this page. Click on the eye button for the gateway token and keep it somewhere save. (Don't worry, if you forget to copy it, you can click on the VPS sidebar and copy the gateway token there later)
As we know that one of the key strengths of Openclaw is the accessibility. You are able to talk to your bot through whatever messaging channel you wish. After paying for the cloud fees, you will be prompted to enter Whatsapp and Telegram bot token.
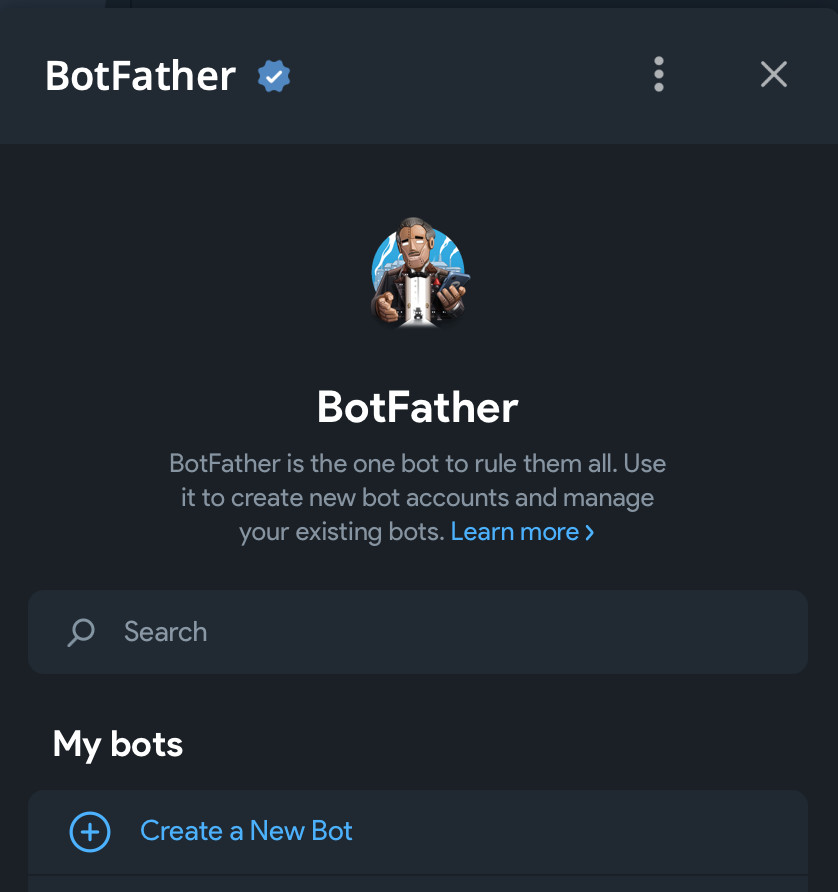
To create a telegram bot token, you just have to click "Create a new bot" by talking to the "BotFather" on Telegram. Here is the direct link: https://telegram.me/BotFather. You can use the command /newbot and name your new bot (must end with bot).
- Access your Openclaw Dashboard
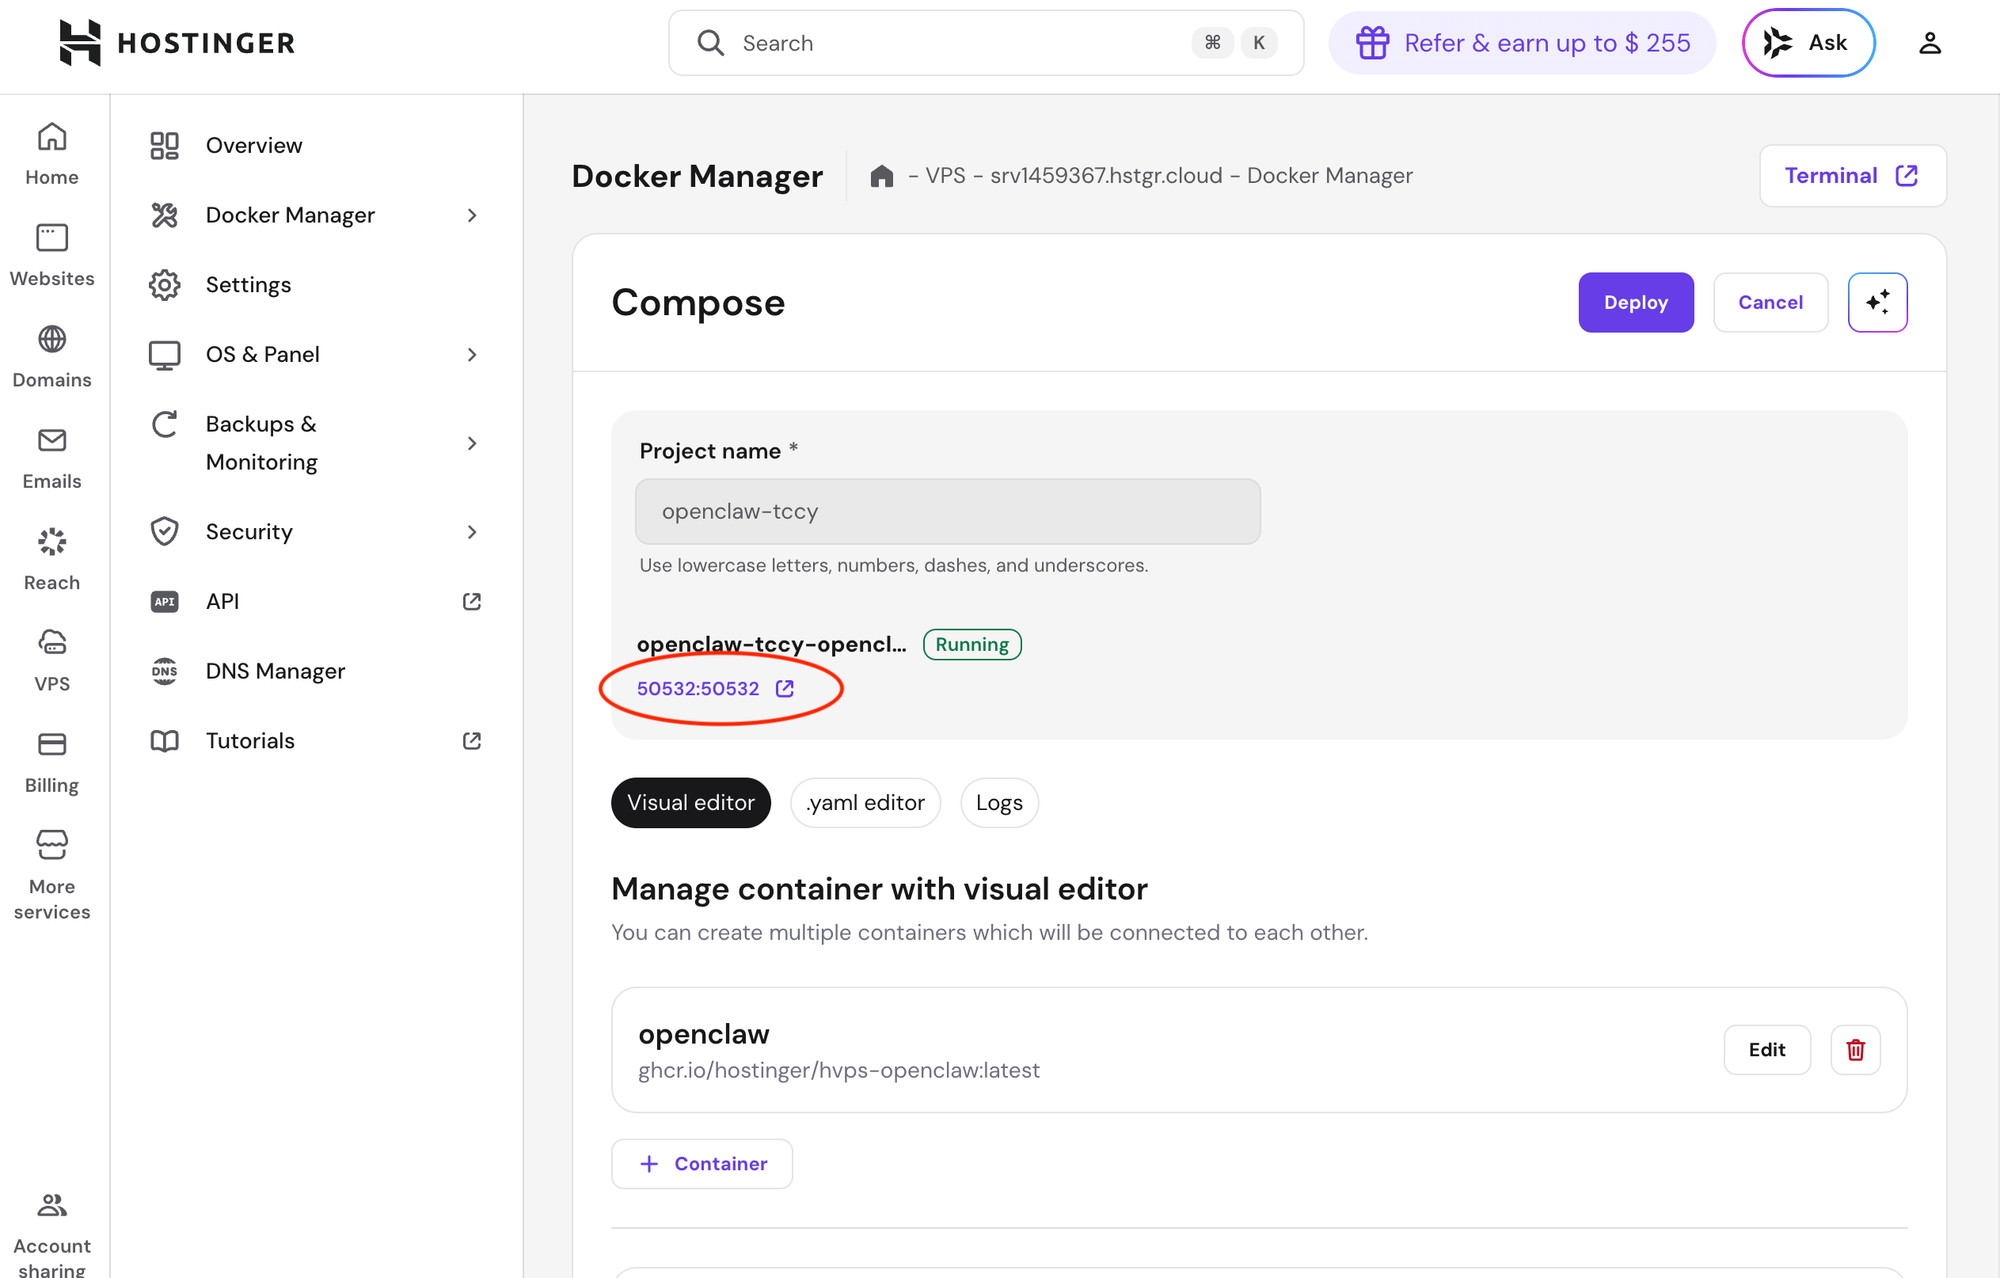
Now everything is set up. Let's access the Openclaw dashboard. (VPS -> click "Manage" -> Docker Manager -> projects -> Manage -> click on the purple hyperlink)
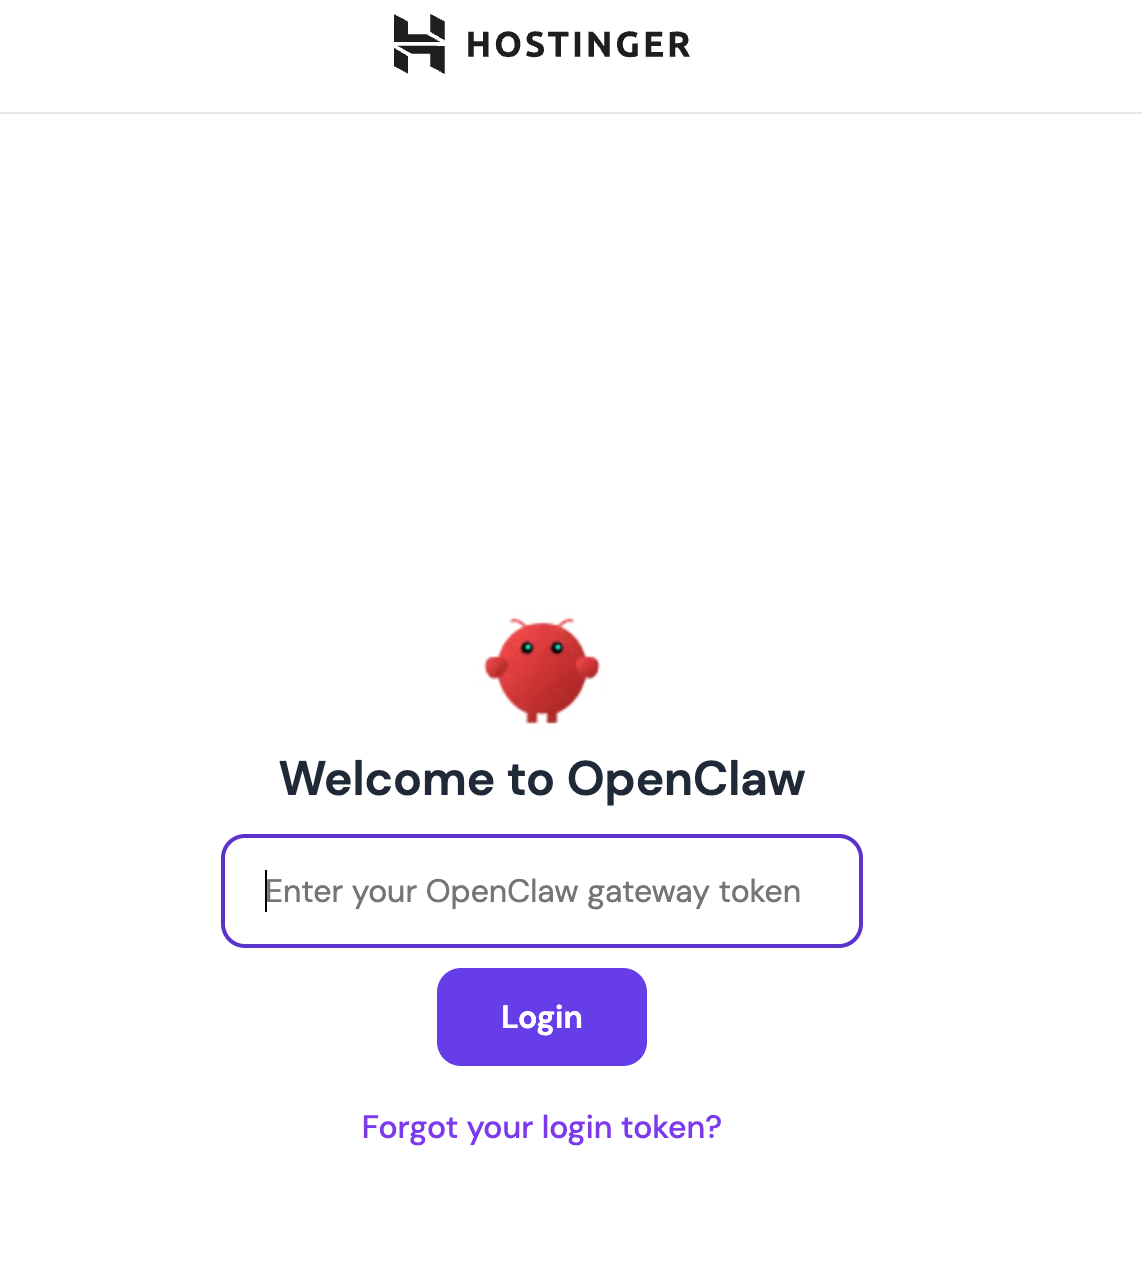
You will be prompted to enter your gateway token. (this is the token we copied earlier)
- Introduce yourself
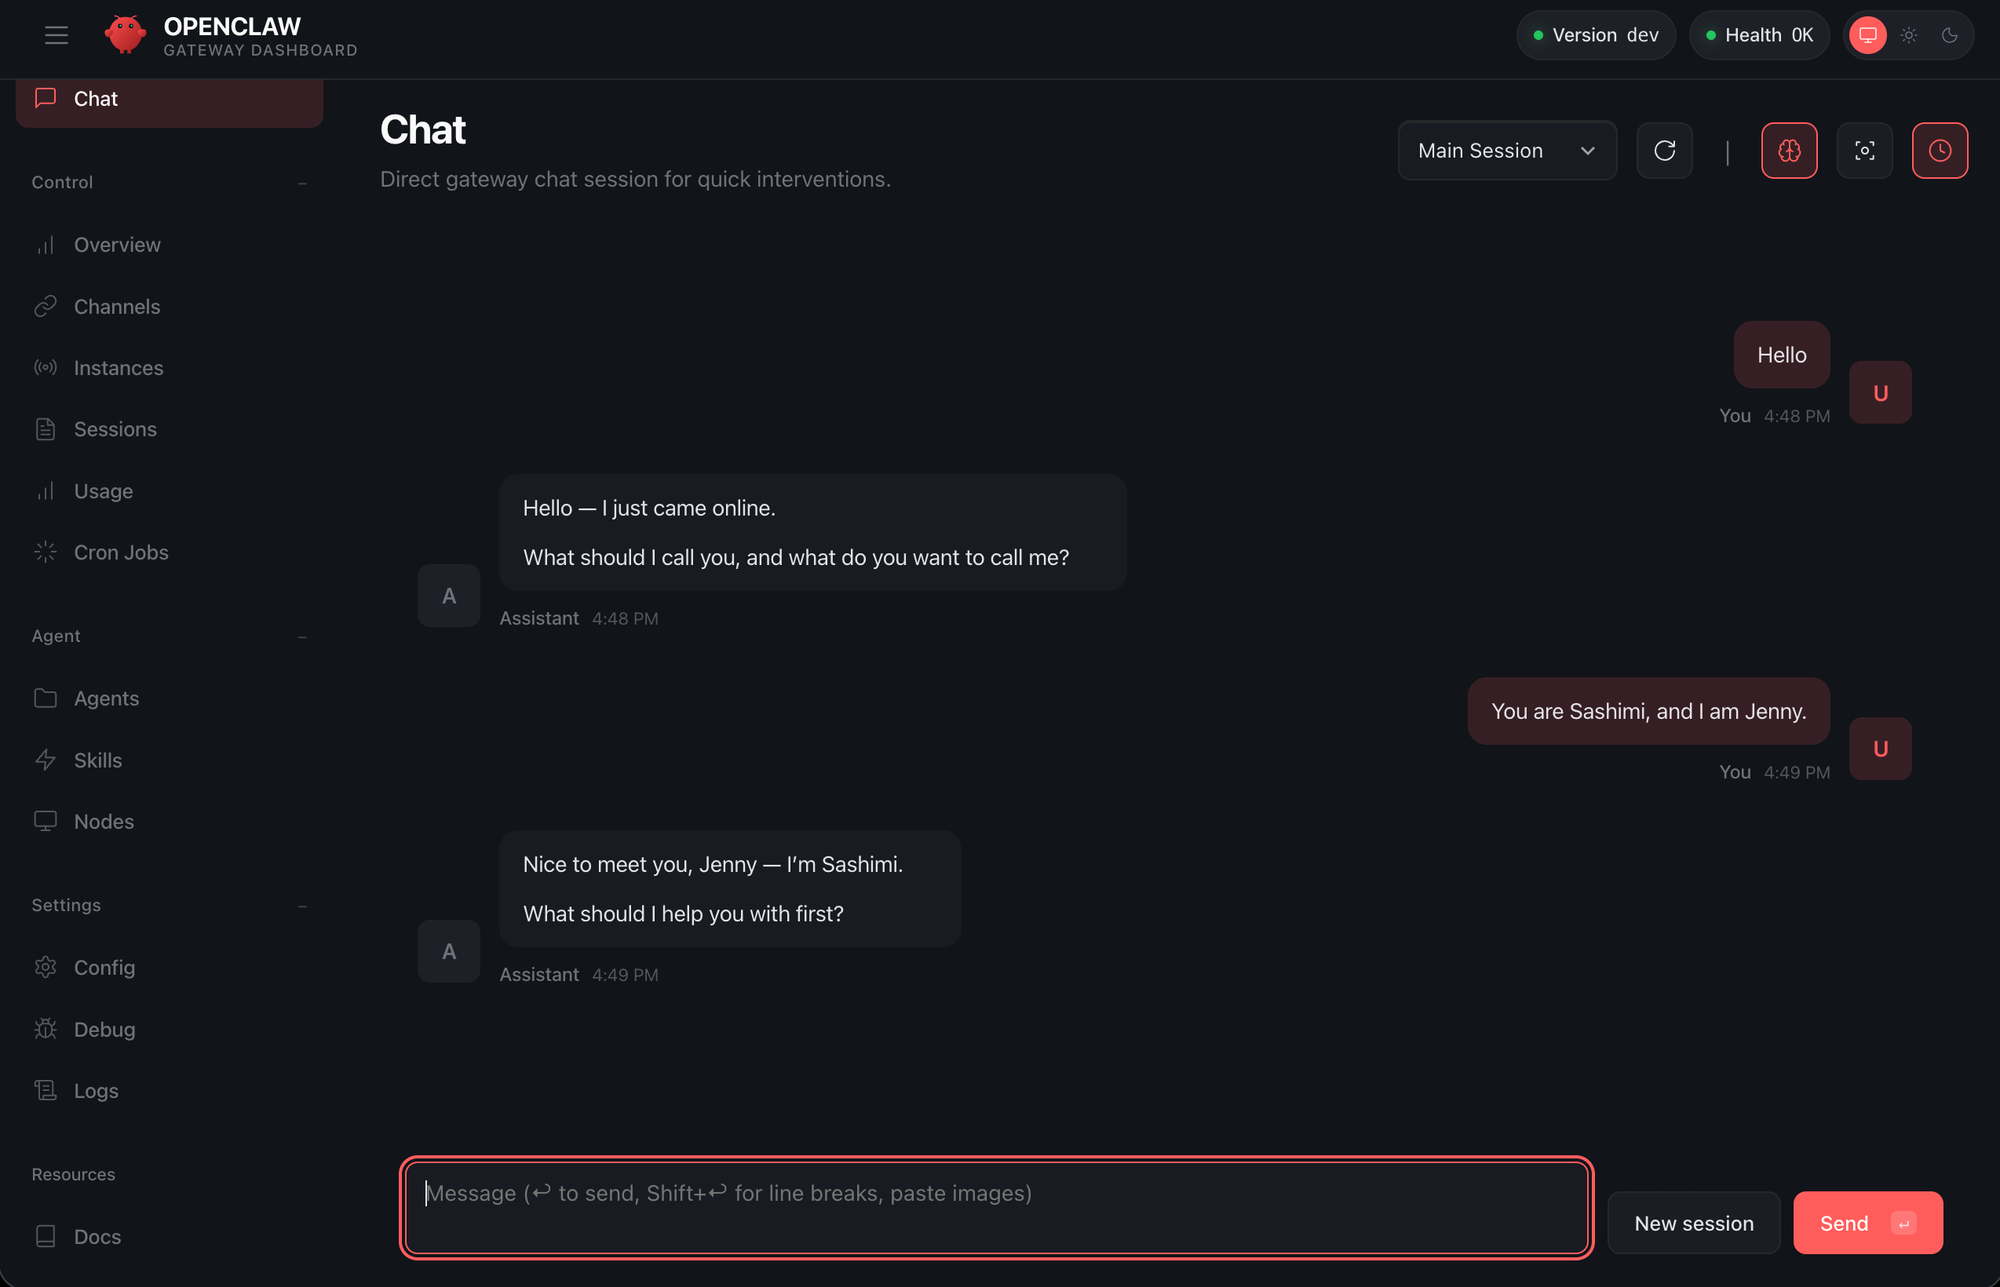
Next, click on the chat button and start to introduce yourself. You can give it its name and give an introduction of who you are, what project you work on etc. Everything you set up here will go into the soul.md file.
- Telegram Communication
Our telegram should have set up properly earlier. Then you can start talking to your bot in telegram. They will give you a pairing code. You can copy it go back to the chat, and tell Openclaw to approve it.
Now try to say "hi" in your telegram. If it still doesn't work, you may need to add your telegram user id to the allowlist. (Openclaw should have your id already, so just tell it to add your id to the allowlist)
- Add Skills
Now, you have your personal assistant on Telegram. We want to build start building "Skills". You can simply start by asking your bot what skills we can add. Remember, while the more skills you add the more powerful it is, it can be risky if not configured correctly (deleting all your emails etc).
I have another post about some tips for setting up your Openclaw. Feel free to have a look as well!